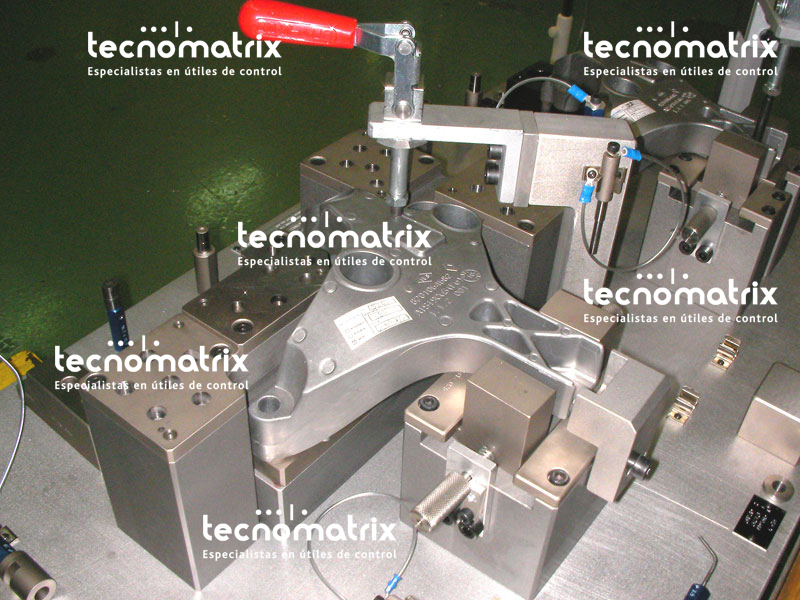
Engine bracket mount
This checking fixture provides a full check of the part. It has two different control stations, in order to align the part by two different datums systems.
Our checking fixtures are produced in aluminium, the components submitted to wear-and-tear are produced in steel. Tolerances for RPS (fixation points) and dial indicator points: ±0.05mm. Tolerances for simulation blocks: ±0.1mm.
Minimum documentation: dimensional report of your checking fixture, 2D assembly drawing, assembly CAD. Optional documentation: R&R report, user manual, stabilization certificate.
Full check fixture


